How to make a Roadster AI video from one photo (2026 guide)
 Roadster AI Video Team
The exact eight-step workflow: choose a photo, write one action, pick a preset, set resolution and length, generate, review and download the MP4.
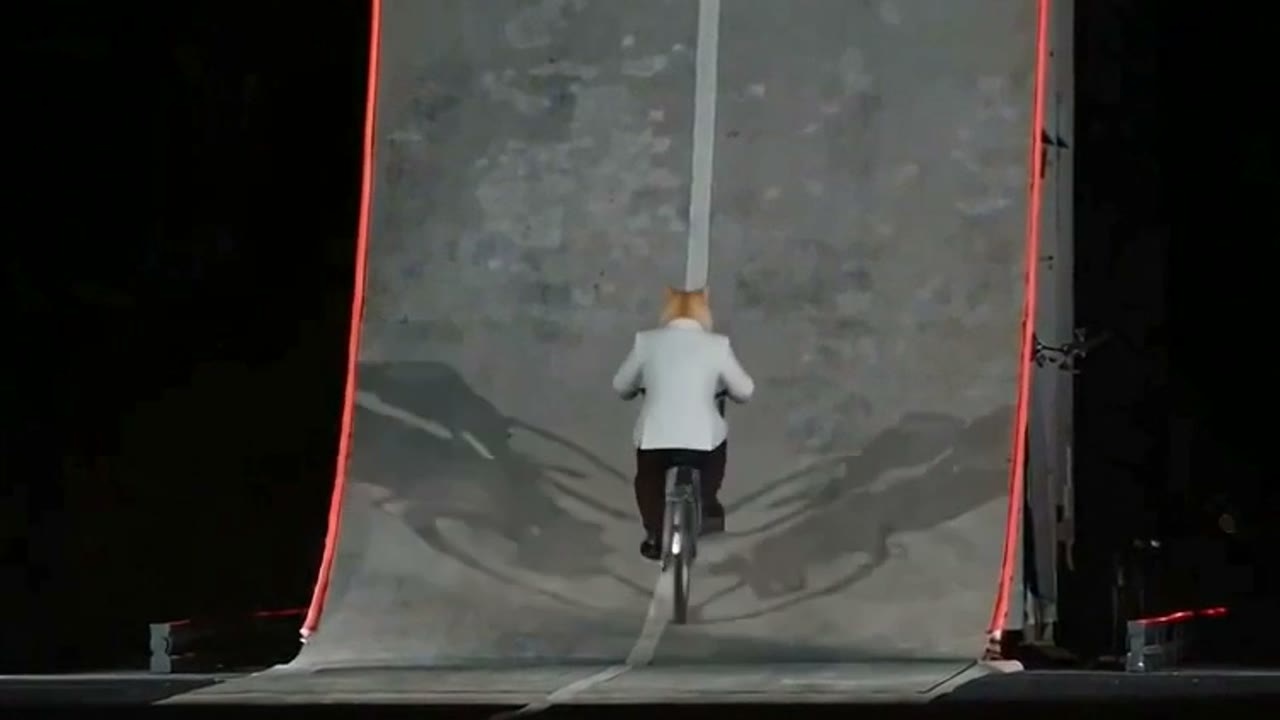
Making a Roadster AI video takes one photo, one clear action and one camera move. Everything else — the ramp, the smoke, the thruster glow, the sky — is generated. This guide walks through the workflow in the order the studio expects, explains what each choice changes, and ends with the failure modes that account for most bad renders.
The studio is embedded below. You can follow along without creating an account; the upload and the prompt are client-side until you press Generate.
This clip: 35 credits · 10 clips a month for $39.90 (Pro), or 102 a year for $319
Step 1: choose the photo before you write anything
The photo defines the geometry the model is allowed to animate. A good input has four properties:
- The whole car is in frame, including the wheels and both ends of the body.
- The light is even. Daylight or a well-lit garage beats a single streetlight at night.
- The car is the subject. A photo where the car occupies a tenth of the frame gives the model very few pixels to work with.
- Nothing important is hidden. If the rear is behind a pillar, a shot that circles behind the car has to invent it.
A phone photo is fine. What fails is a cropped bumper, a heavy shadow across the doors, or a car photographed from above at a steep angle. If you are shooting a new photo, stand at roughly headlight height, move until the whole car fits, and take five frames so you can pick the sharpest.
Bicycles, carriages, skateboards and vans work with the same presets. The prompt says "the vehicle in the uploaded photo"; it does not assume a sports car.
Step 2: decide the stunt
Pick one of four actions:
- Launch line. The car leaves a standing start in a wall of tyre smoke. Easiest to render because the camera stays behind the car and the body barely rotates.
- Ramp flip. The car climbs a ramp, rotates once in the air and lands. The most dramatic, and the most likely to drift if the photo only shows one side.
- Night escape. The car lifts vertically out of traffic. The body stays level, so the shape is stable; the challenge is the city background.
- Traffic boost. The car hops forward over a queue of stopped cars. A side-tracking camera keeps the wheels visible.
Do not combine two actions in one clip. A flip and a drift in the same six seconds is not a stunt; it is a request for the model to invent geometry it cannot see.
Step 3: write the prompt around the action
The studio presets are complete prompts, not keywords. If you write your own, use this order:
- Anchor the subject. "Use the car in the uploaded photo as the single hero vehicle."
- State the scene. "A floodlit proving ground at night, wet asphalt, haze."
- State one action. "The car launches forward and disappears into a wall of tyre smoke."
- State one camera move. "A low rear three-quarter camera tracks forward with the car."
- Protect the vehicle. "Keep the body shape, paint colour, wheel count and badges exactly as photographed."
- Exclude the failure modes. "No crash, no people, no text, no watermark."
Six sentences are enough. A 300-word prompt with five camera cuts gives the model more chances to lose the car.
Step 4: choose resolution and length
The default is Standard · 720p · 12 seconds, which costs 35 credits. The pricing table is linear: a 1080p 12-second clip is 90 credits, 480p is 20, and longer clips scale from the 12-second base and round up. If you are testing a prompt for the first time, render at 720p. Once the composition works, re-render the winner at 1080p.
Aspect ratio matters more than resolution for social. 9:16 fills a phone screen; 16:9 suits YouTube and X; 1:1 is useful for feed posts. The model does not change the price by aspect ratio.
Step 5: confirm the credit cost
The cost is printed next to the Generate button and updates the moment you change a setting. If the balance is enough, the button says Generate video. If it is not, the button says Prepare my video: pressing it starts a 15-second countdown and then shows the payment options. The countdown is not render progress and it does not call the model.
One important detail: the studio never starts a paid render that you cannot afford. The credit charge, the moderation call and the provider submission happen in that order on the server, and a failure at any step returns the credits.
Step 6: generate and watch the real status
Press Generate. The task is created, credits are reserved, moderation runs, and the job is submitted. The page then polls the provider. You will see queued, processing, then success or failed. There is no percentage bar because the provider does not expose one; inventing a percentage would be lying about the state.
Most clips finish in a couple of minutes. A 1080p render can take longer. You can leave the page and come back; the task is stored against your account and appears in My videos.
Step 7: review before you download
Watch the clip twice. On the first pass, check the story: does the car actually launch, flip or lift? On the second pass, check the details: wheel count, badge, paint colour, the shape of the roof. If the action is right but a detail drifts, change one variable — usually the camera move — rather than rewriting the whole prompt.
If the render failed, the credits are already back. Retry with the same settings, or shorten the clip. A 5-second version of the same action is cheaper and often cleaner.
Step 8: download and post
The finished file is an MP4 with no watermark. Download it from the studio or from My videos. If you are posting to TikTok, Reels or Shorts, keep the 9:16 export; if you are posting to YouTube or X, use 16:9. Add music and captions in the editor, not in the prompt. The model is bad at text, and a generated caption will look like a glitch.
Label the clip as AI-generated. It is a fictional scene, and the platform rules on synthetic media apply.
The five failure modes
| Symptom | Likely cause | Fix | | ------------------------------- | ----------------------------------------------- | --------------------------------------------------------- | | Wheels multiply or disappear | Fast rotation, rear never photographed | Slow the action, keep the camera on the photographed side | | Car changes colour mid-clip | Prompt describes a colour that fights the photo | Remove colour words, let the photo decide | | Body melts during the flip | Too many actions in one shot | One action, one camera move | | Background warps around the car | Camera move crosses a complex scene | Simpler background, locked camera | | Render refused | Moderation flagged the prompt or photo | Remove people, logos and unsafe wording |
What to read next
If you want prompts you can paste, start with the 12 Roadster AI video prompts. If you are choosing between this tool and a general video model, the car video generator comparison covers the trade-offs. If a render is stuck, the troubleshooting guide lists the checks in order.